Home › Forums › Creative Content › Star Wars Character Game mesh W.I.P
- This topic has 2 replies, 3 voices, and was last updated 14 years, 3 months ago by
Anonymous.
-
AuthorPosts
-
-
01/04/2010 at 1:24 am #7685
Anonymous
InactiveHey there!
I have only noticed that this website exists lol! I’m an Irish games design student studying in England and live in Northern Ireland when its non-term time…
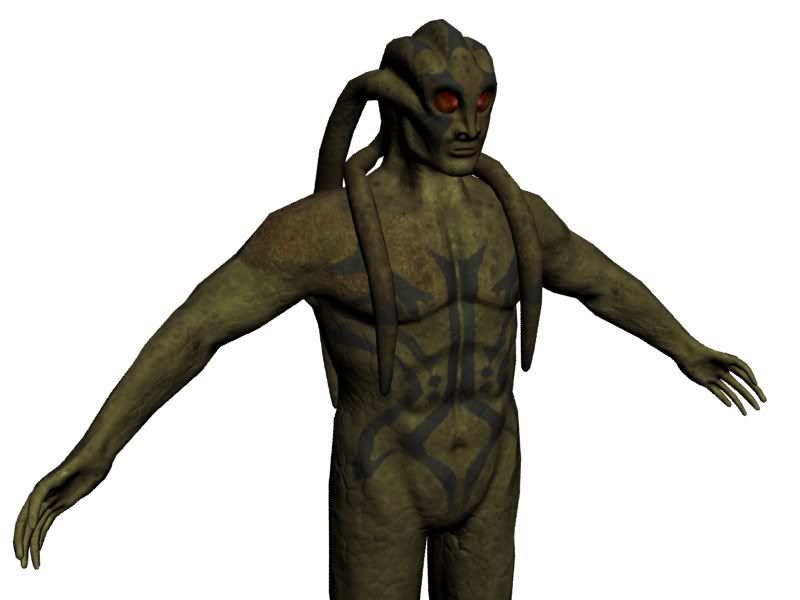
Just looking for some critism on a model i’ve been making with 3ds max, zbrush and photoshop!..
im mainly looking for advice on textures…
Scott
-
03/04/2010 at 7:19 pm #45594Inactive
Hi and welcome.
Posting a wireframe helps with critiques, just fyi. hard to see where you’ve spent your tri’s otherwise.
Think the proportions between upper and lower arms could be improved. Maybe, upper lip also.
Texture looks ok on the model, no visible seams. Might try and pack that texture map bit tighter, and consider re-using or mirroring where possible.
If your under your poly budget, maybe run a second pass on the head tresses or tendrils. there’s plenty of nautolan refernce stills on wookiepedia. you can see kit fisto has a lot of definition around the eye brows and forehead.
Right, thats my two cents.
-Brendan. -
06/04/2010 at 11:06 am #45606Inactive
im mainly looking for advice on textures… [/quote:d2862db4a2]
Your current greenish diffuse looks too dark and undefined but this could be because of the lighting you are using and the lack of specularity. There doesn’t seem to be any noticeable stretching so the UVs are pretty good, although as Jediboy mentions, they could be optimised a lot better and mirrored for higher resolution. It looks like you have used the max cellular map as a bump enhancement to your normal map – useful because it is procedural and bleeds nicely when baked across UV seams but the scales look a little large and do not blend away convincingly.
I suggest baking a lightmap and an ambient occlusion map from your model and overlaying it carefully onto your diffuse texture. If you’re using Zbrush for the high poly model then also bake out a cavity map. I would also add in a specular map to help with overall definition.
-
-
AuthorPosts
- The forum ‘Creative Content’ is closed to new topics and replies.